
Versentia User Manual
Versentia, paired with Versentia Mobile, is a complete web-based inspection management solution. It allows users to manage: clients, route services (using Google Maps), handle client billing, and generate management reports all in one software. This user manual is for Versentia.com, complete with screenshots and easy to follow directions.
Navigating this user manual can be done using the navigation menu to the left. The user manual is divided up into the following sections:
These sections have sub categories which can further help you jump to the area you need explained.
Technical and Contact Information
Once you have purchased Versentia you will need to make sure your current browser supports it. Keep in mind, that not all features will be available to all users depending on their administrative login status. If you are using the mobile version you will also have limited features available.
To contact us at anytime please email your questions or comments to support@versentia.com.
Supported Browsers:
- Google Chrome
- Safari Browser
- Mozilla Firefox
- Microsoft Internet Explorer v10.0
To View Reports:
- Microsoft Excel
- Adobe Reader
Getting Started
This page discusses everything you see after initially logging into Versentia. The page displayed in front of you is the Home Page, from here you can navigate the entire site.
Initial Login Instructions
As a new user you will receive an email from notifications@versentia.com containing temporary password. Use the temporary password sent to you, and the email it was sent to for your initial login.
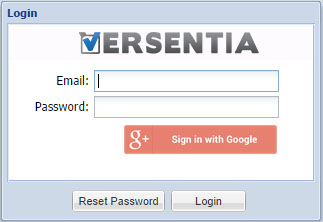
To log into Versentia type in https://portal.versentia.com on a supported browser (Chrome, Explorer, Firefox).
- To initially login enter your email (whichever email the temporary password was sent to).
- Enter your temporary password from notifications@versentia.com.
- Click on Login.
- You will be prompted to change your password, enter your old one and then your new one.
- You will receive a confirmation email that your password has been changed.
- Login again with your new password.
- If you did not receive and email check your Spam folder.
Google+ Sign-in
Use sign in with Google if you have a google login. Click Sign in with Google and consent the authorization dialog (only applies the first time logging) and a returning user will not be prompted again for authorization.Using Google+ sign in will save time logging into Versentia without entering login information.
Versentia Home Page
You will see this page when you initially log in.
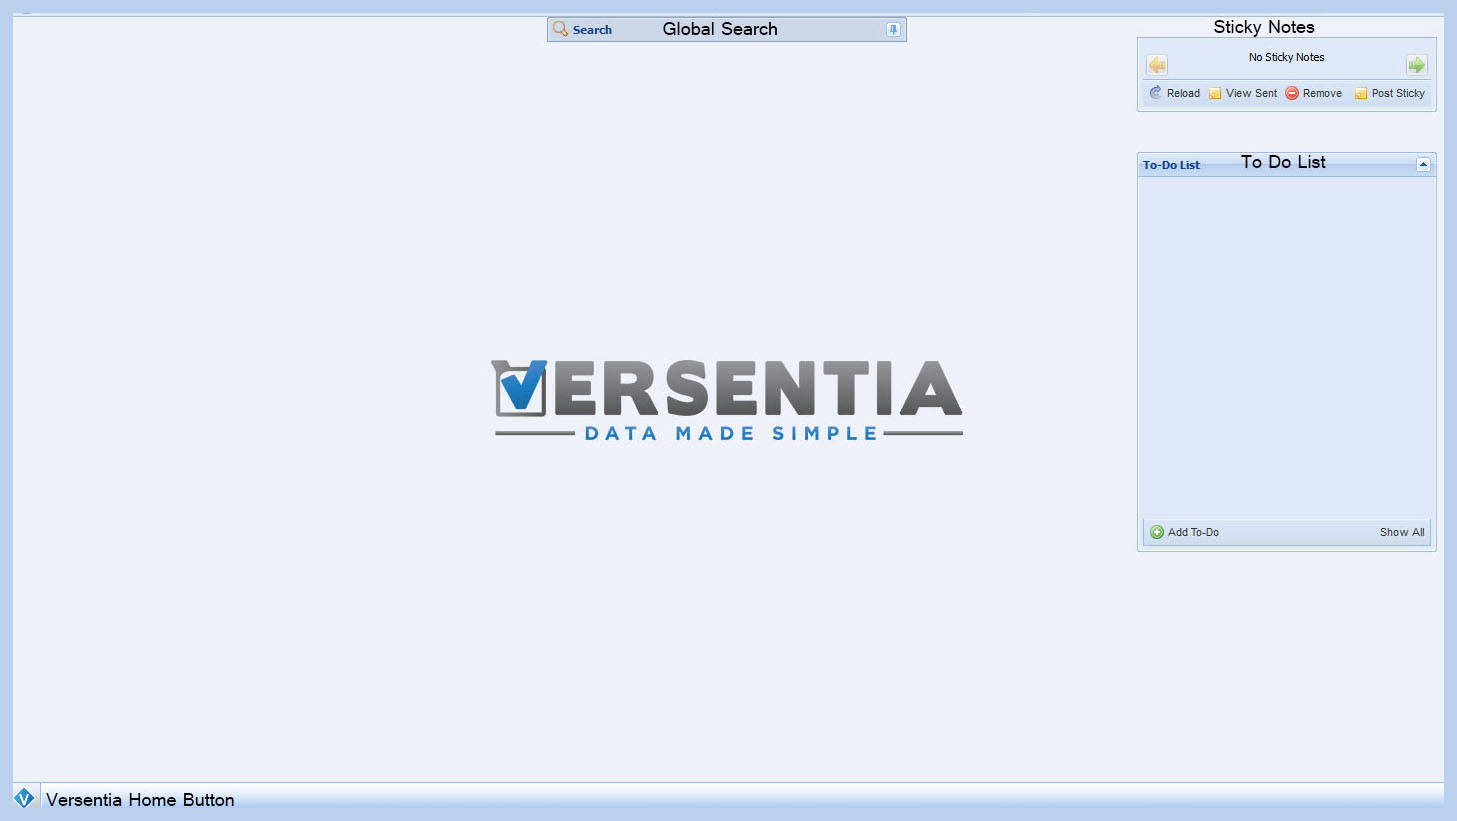
Located in the bottom left corner of your screen this is the Versentia Home Button. From here you can navigate the majority of the site, every item located here is discussed in detail in this manual. The home button also contains universal features such as a location search bar, switch user, lock web-top, dashboard and log out.
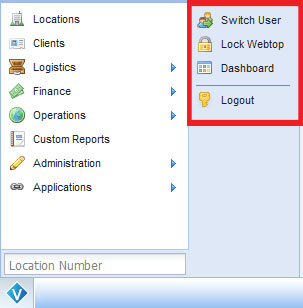
Switch User
- To switch the user click on Switch User, then fill out the requested login information that pops up.
- Click Login.
- Warning: if you do not save work before switching users it will be deleted.
Lock Web-top
- To lock your web-top click on Lock Web-top, this will prohibit anything on the screen from being clicked or accessed.
- To unlock your web-top, click on Lock Web-top, enter your password and it will be unlocked.
Logout
- Click Logout to log out of your Versentia portal. Any input information that was not saved will be lost.
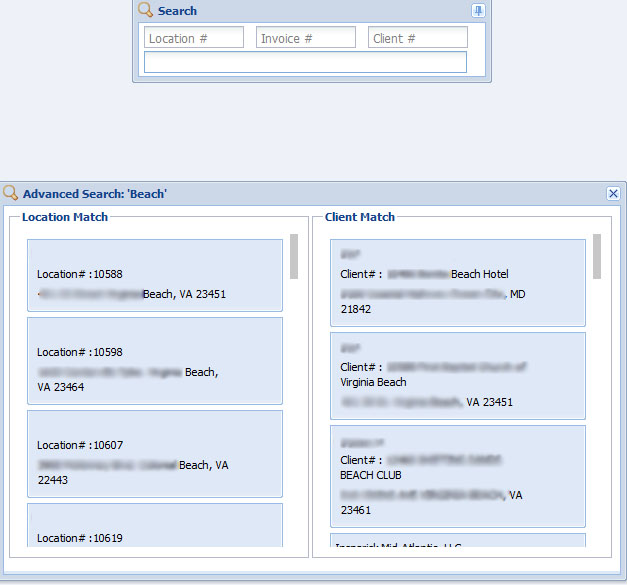
Global Search
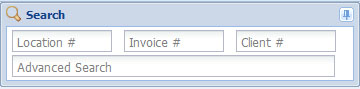
The Global Search will look at every file in Versentia and pull up a list of options that relate or match your search terms. To keep the Global Search open click the Push-pin icon to the top right. You can search Versentia by:
- Location Number
- Invoice Number
- Client Number
- Advanced Search
Advanced Search
Use the Advanced Search when you do not have specific information. For example plugging in an address will pull up a result list, even a partial address. Versentia will find clients and locations that match your search terms:
Sticky Notes
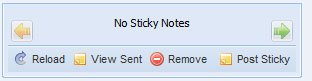
This feature allows you to leave notes for others using the system to see. The feature is located in the upper right corner of the Home Screen. How to navigate the feature is outlined below.
Reload
- To reload (refresh) any sticky notes click on the Reload icon to the bottom left of the feature.
View Sent
- To view any previously sent notes click on the View Sent icon.
- You will get a help window that lists previously posted/sent notes.
- To view who the sticky was sent to or any content click on the plus by the sticky to expand the information.
Remove
- To remove a sticky select one and click on the Remove icon.
Post Sticky
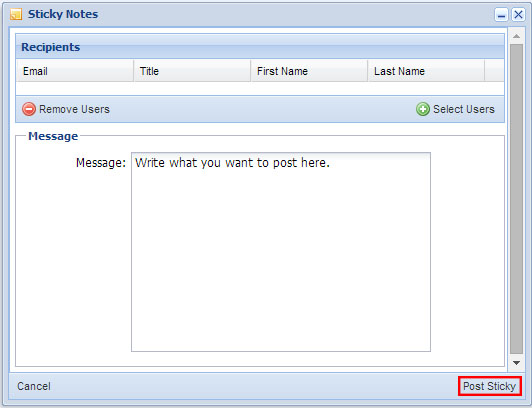
- To post a note click on the Post Sticky icon.
- You will be taken to the following help window:
- You can then add users whom you wish to see your note.
- Do this by clicking on the Select Users button to the top right of the window.
- Choose from the list of users and click Use User in the bottom right corner.
- If you want to remove a recipient, select their name from under the Recipients list and click Remove Users. You can multi select users using your shift key.
To View Multiple
To view multiple sticky notes use the left ![]() and right
and right ![]() arrows to navigate.
arrows to navigate.
To Do List
Located under the Sticky Notes feature, you can post reminders to yourself here.
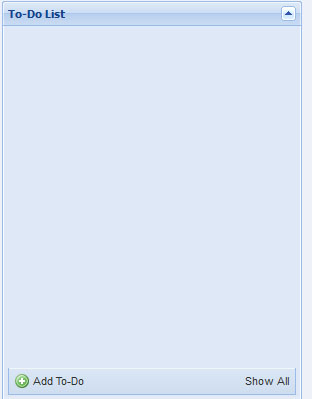
Add Item
- To add an item click on the Add To Do icon in the bottom left corner of the feature
- Enter the Complete By date in the top.
- Enter your message.
- Click Add Item. It will appear in your To-Do List.
To Mark Item as Done
Once you have finished an item click on the green check next to it and it will disappear from the list.
View Old
To view your older posts or completed items click on Show All to the bottom left, this will bring up any you checked off as done. To un-checked them click on the red x by them.
Window Features
You will find these at the top of most windows in the program (from left to right):
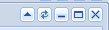
- Upward Arrow: This will collapse the window to just the upper bar area
- Refresh: This will refresh the list or information in any window. You will lose search terms or information if it has not been saved.
- Minimize: This will minimize the window within Versentia.
- Maximize: This will make the window fit your screen.
- Exit: This will close the window.
Column Options
Next to every column in a window is a small arrow to the right signaling a drop down menu, seen below. These options offer ways to organize the columns in a window, and will be applied to all columns in the window when selected.
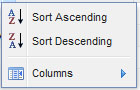
- Sort Ascending: this will sort the columns alphabetically, from A to Z.
- Sort Descending: This will sort the columns alphabetically from Z to A.
- Columns: this feature allows you to decide what columns are visible, any column with a check next to it will appear in the window, any unchecked column will become invisible.