
Finance
Finance is located under the main Versentia Home button, in the bottom left corner of the home screen. Hold your cursor over the Finance field and you will get a drop down menu of options. Finance allows you to navigate through past, current and due invoices. It keeps all your company's finance in one place, easy for you to see. In this section you will find:
Client Billing Management
To get to this window, go from the Versentia Home>Finance>Client Billing, and click on Client Billing. You will then be directed to the Client Billing Management window.
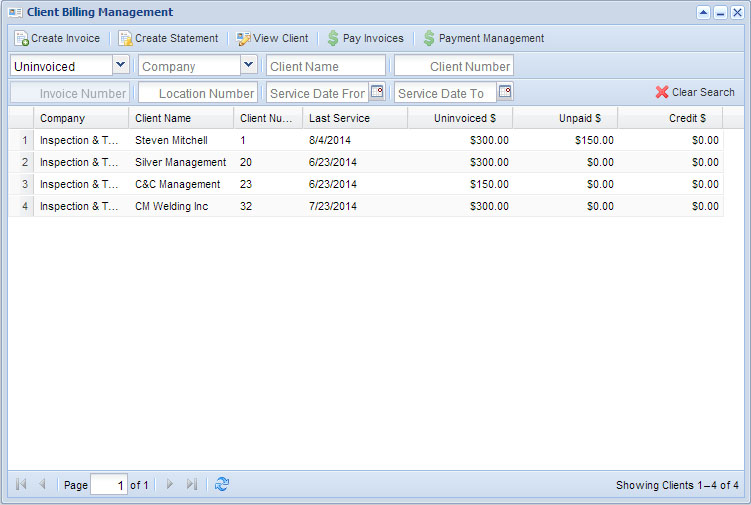
Search Options
You can filter the results of the page by:
- Un-invoiced
- Unpaid
- Show All
- Company
You can search the results of the page by:
- Client Name
- Client Number
- Invoice Number
- Location Number
- Service Date (from-to)
To clear the search field click the ![]() Clear Search icon in the top right corner.
Clear Search icon in the top right corner.
This is the first button in the Client Billing Management window. Here you can create an invoice for a client.
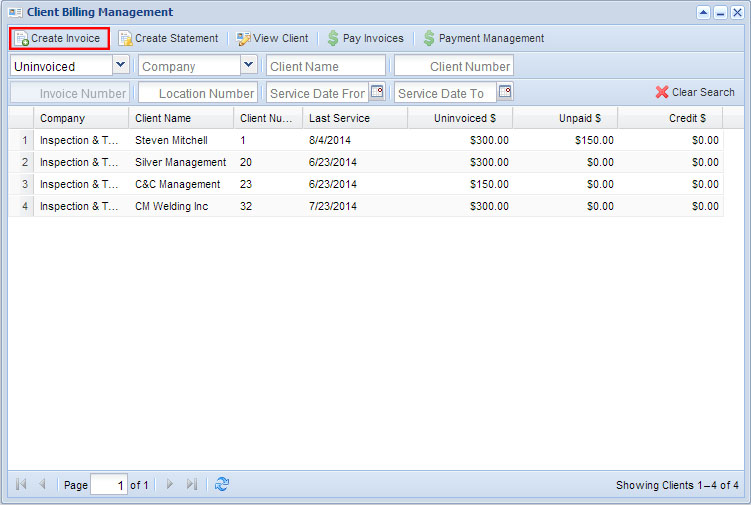
- Select a client and click on Create Invoice.
- This will take you to a help window, from here select a fee from the left list and click the
 Apply icon to apply it to the invoice being created.
 - You can use the
 Apply All icon to apply all fees to the invoice.
 - Any applied fees will go to the Fees to Apply list.
- Click Create/Show Invoice or Create Invoice.
To Remove an applied fee from an invoice:
- Select a fee from the left list and click the
 Remove icon to remove it from the invoice being created.
 - You can use the
 Remove All icon to remove all fees from the invoice.
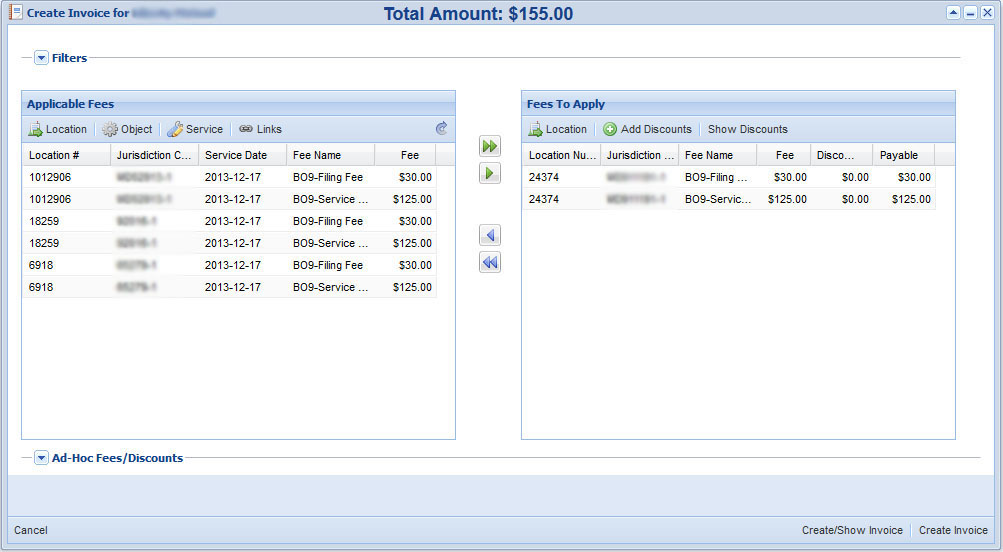
Applicable Fees
To view more information select a fee and click on:

- Location: this will take you to the location of the selected fee.
- Object: this will take you to the object window, only available if a fee has a jurisdiction code.
- Service: this will show you the service detail, the fee needs a Service Name for this action to be valid.
- Links: this will show you any external links associated with the fee.
- Reload: click to reload fees (located at the far left in above image).
Fees to Apply
To view more information on a fee click:

- Location: this will take you to the location of the selected fee.
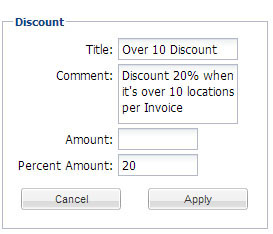
- Add Discounts: this allows you to add discounts to a selected fee; by selecting this option you will be able to scroll down and fill out the Discount area: Title, Comment, Amount or Percent Amount (you only need one). From there click Apply and then click Create/Show Invoice or Create Invoice.
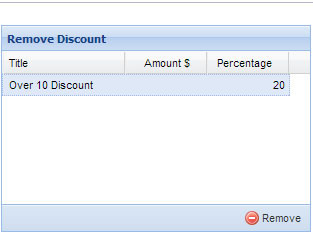
- Show Discounts: this allows you to see all discount information, it will also appear in the Remove Discount list, scroll down to view it in the window.
- Remove Discounts: Click on Show Discounts, select a discount to remove from the Remove Discount list and click Remove.
To Apply Ad-Hoc Fees to an Invoice
Located to the left of the Remove Discounts List, this is an option that can be added to a fee.
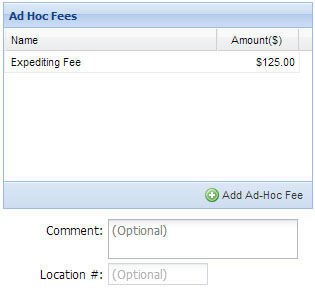
- To apply a fee for a Ad-Hoc (one time) service click on the
 Add Ad-Hoc Fee icon.
 - Select an Ad-Hoc name from the drop down list, fee name and amount will appear; you will have an option to edit the amount.
- Enter a comment, optional, and it will appear in the invoice.
- Enter a location number (optional).
Create Statement
Located under the Client Billing Management window, this is the second button.
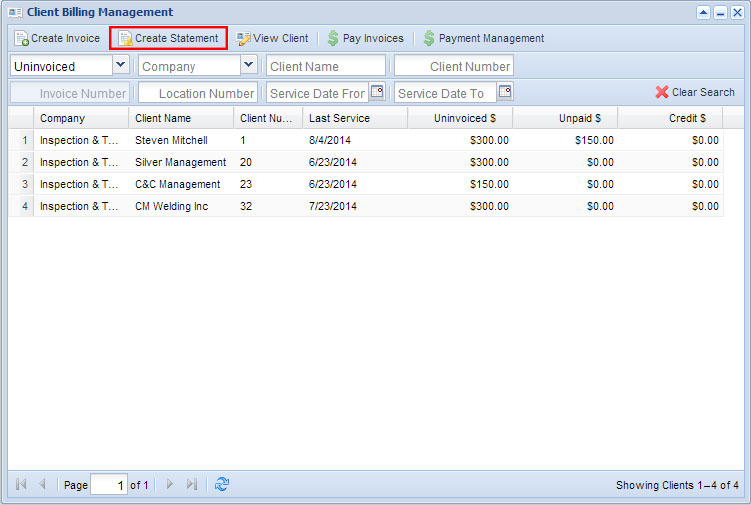
- Select a statement/client.
- Click Create Statement.
- This will download a PDF of the statement to your computer.
View Client
Located under the Client Billing Management window, this is the third button.
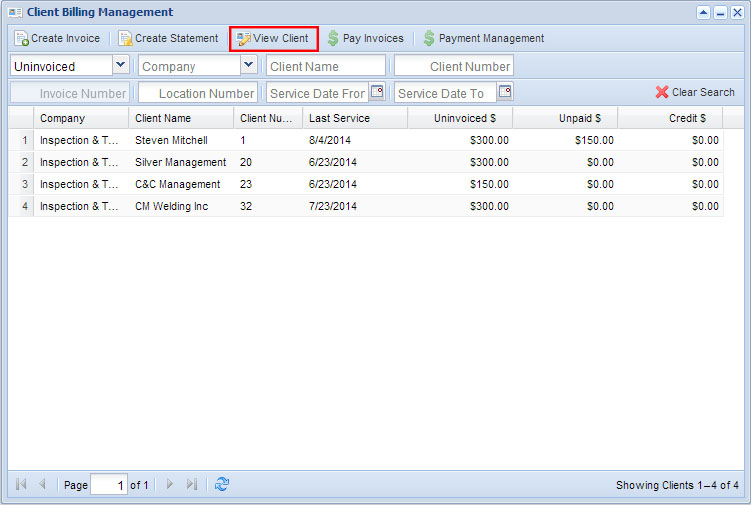
- Select a statement/client.
- Click View Client.
- This takes you to the Clients page, discussed in the Clients section.
Pay Invoices
Located under the Client Billing Management window, this is the fourth button.
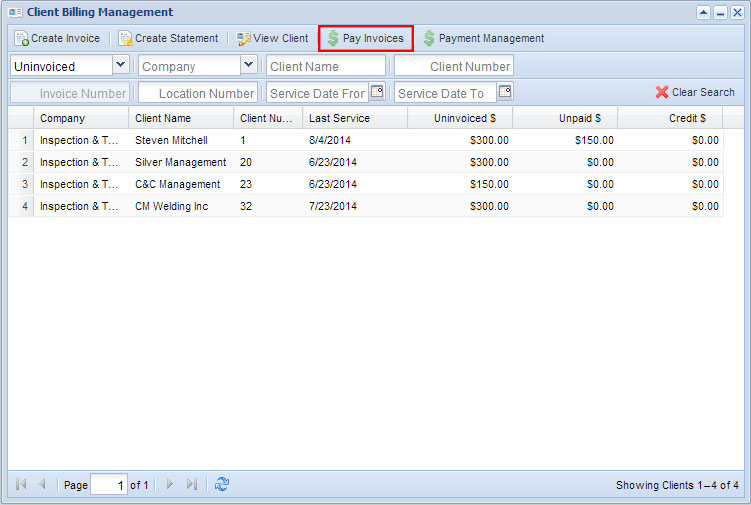
- Select a statement/client.
- Click Pay Invoices.
- You will get a help window where you can apply a payment from the client to the invoice.
Payment Management
Located under the Client Billing Management window, this is the fifth button.
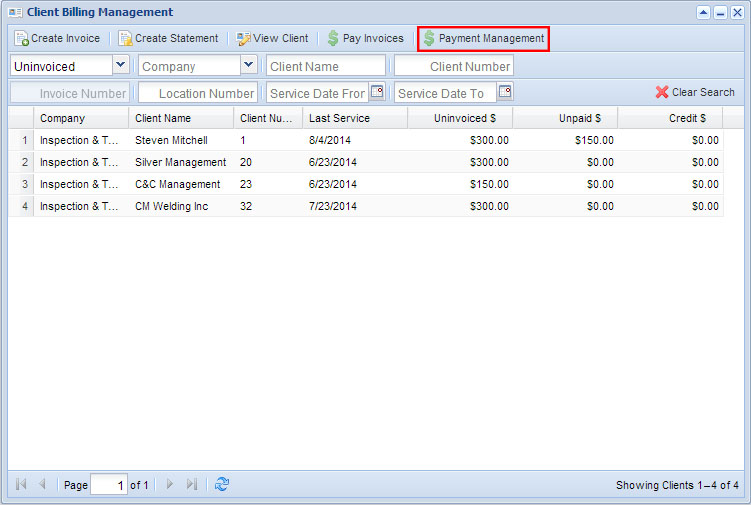
- Select a statement/client.
- Click Payment Management.
- In the help window you can view the payment history of the client, make a payment, and edit payments.
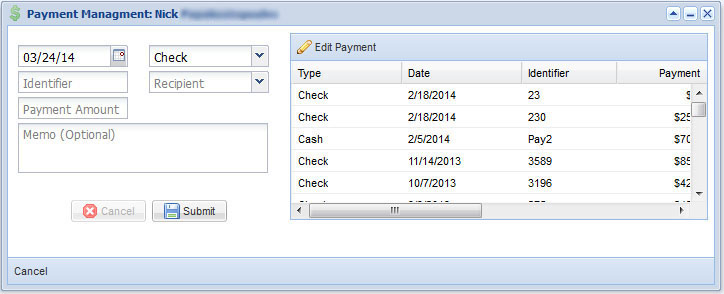
- Select an invoice from the list and click Payment Management.
- Enter date, the default is always the current date.
- Select Payment type from drop down menu, the default is always check.
- Enter Identifier.
- Enter Payment Amount.
- Enter memo (optional field).
- Click Submit.
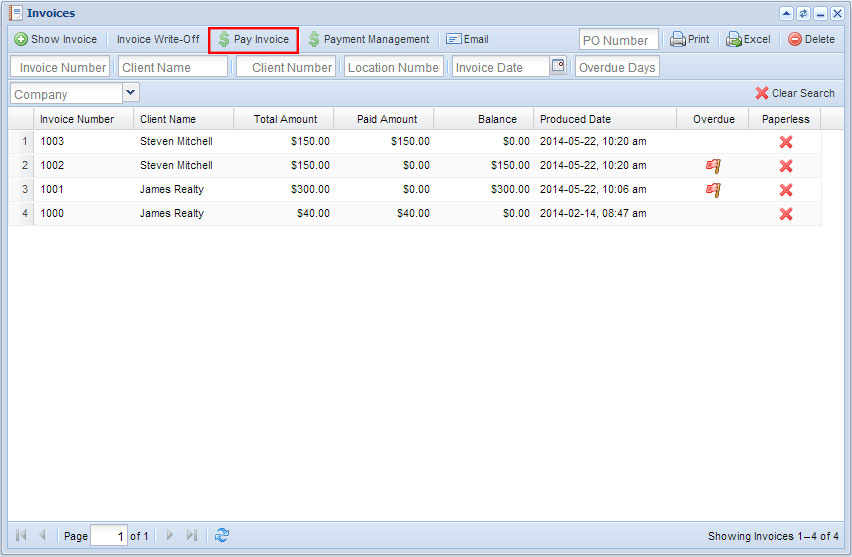
View Invoices is the second item in the Finances drop down menu. From this window you can manage invoices.
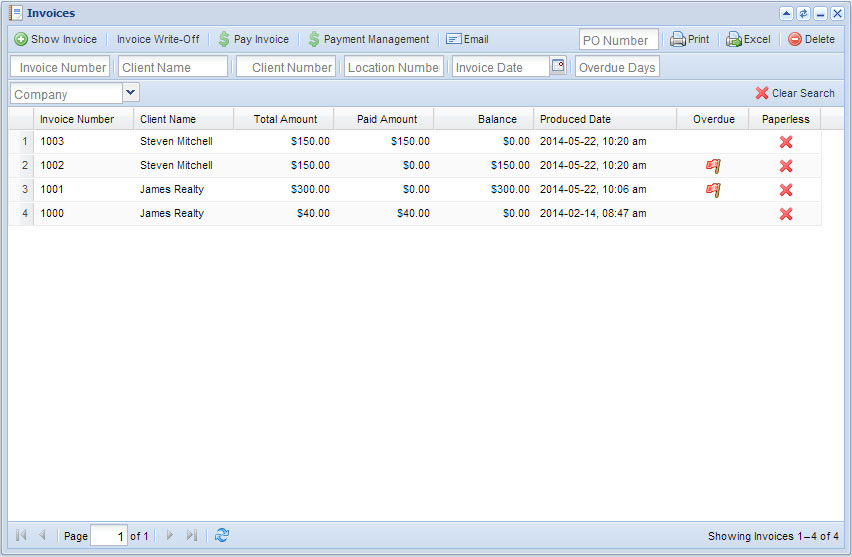
Search Options
You can search the page by:
- Invoice Number
- Client Name
- Client Number
- Location Number
- Invoice Date
- Overdue Days
To clear the search field click the ![]() Clear Search icon in the top right corner.
Clear Search icon in the top right corner.
Purchase Order (PO) Number
Located to the top right of the View Invoices page.
- To print an invoice with a purchase number, select an invoice from the list.
- Enter the purchase order number in the PO Number field.
- Click the Print icon right next to it.
Located to the top right of the View Invoices page.
- Select an invoice from the list.
- Click the Print icon in the upper right corner.
Excel
Located to the top right of the View Invoices page.
- Select an invoice from the list.
- Click the Excel icon in the upper right corner.
- An excel spread sheet with the invoices will be generated and automatically downloaded to your computer.
Delete
Located to the top right of the View Invoices page.
- Select an invoice from the list.
- Click the Delete icon in the upper right corner.
- Enter a comment, required.
- Click Submit.
Show Invoice
This is the first button under the View Invoice window.
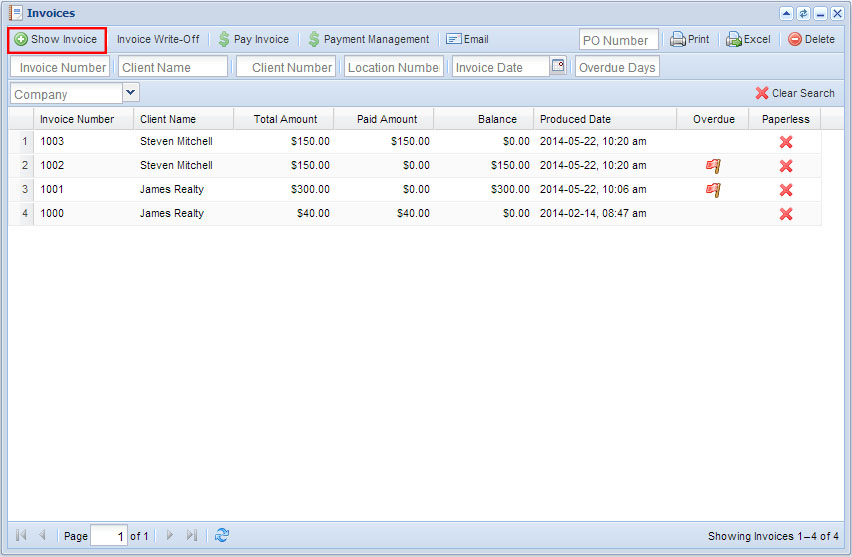
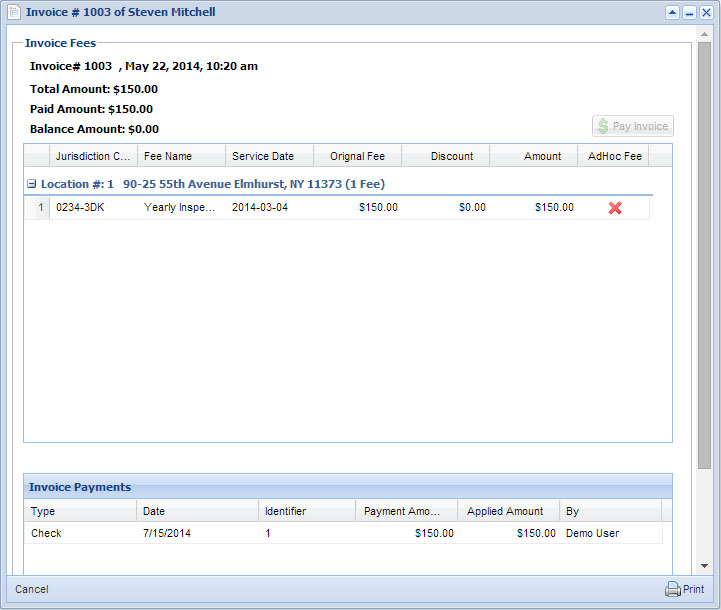
- Select and invoice from the list and click Show Invoice.
- You will get a help window with all the invoice information.
Invoice Write-Off
This is the second button under the View Invoice window.
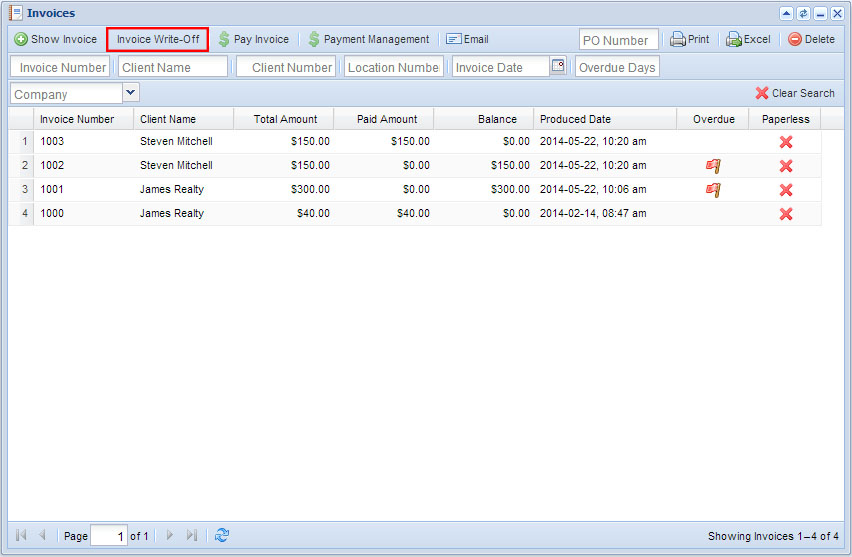
- Select and invoice from the list and click Invoice Write-Off.
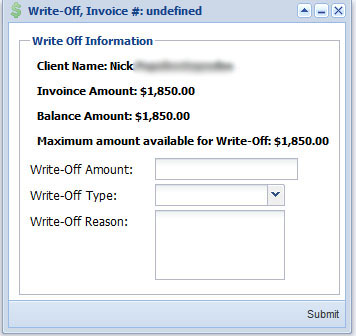
- You will get a help window to enter the write-off information.
- Enter a Write-Off Amount (required).
- Enter a Write-Off Type (required).
- Enter a Write-Off Reason (required).
- Click Submit.
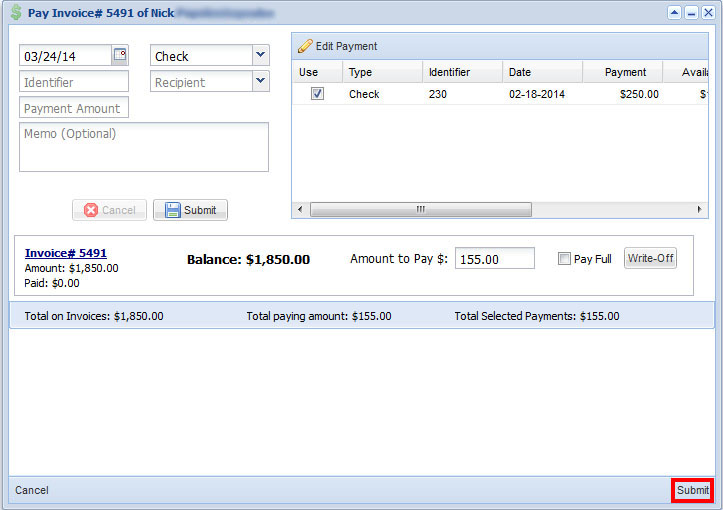
This is the third button under the View Invoice window, where you can pay an invoice.
- Select and invoice from the list and click Pay Invoice.
- You will get a help window with all the invoice information, check off which payment you want to apply to the invoice from the list on the right.
- Enter in the amount in Amount to Pay.
- Click Submit in the lower right corner.
Payment Management
This is the fourth button under the View Invoice window, were you can edit and manage a payment.
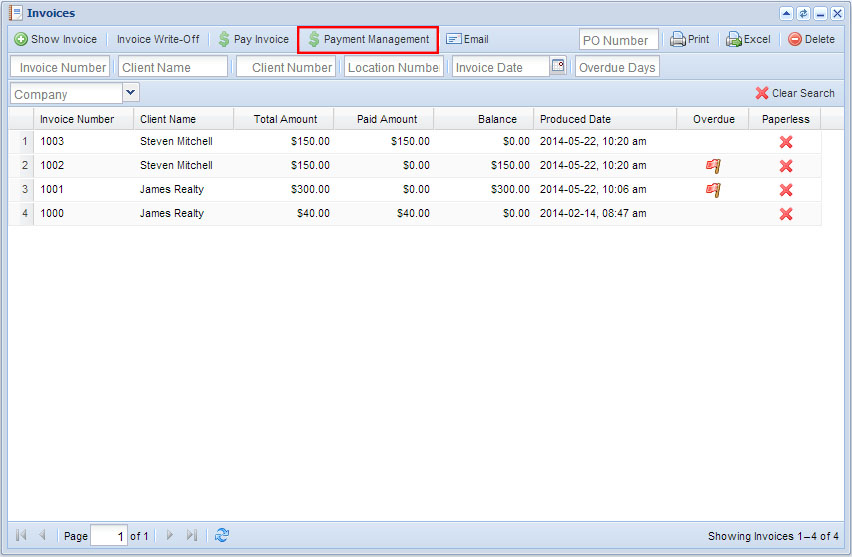
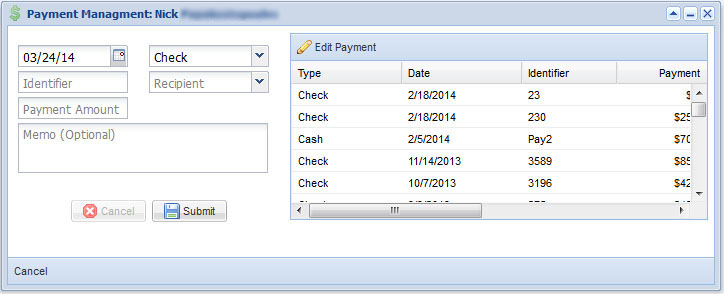
- Select an invoice from the list and click Payment Management.
- Enter date, the default is always the current date, in the Payment Management help window.
- Select Payment type from drop down menu, the default is check.
- Enter Identifier (required).
- Enter Payment Amount.
- Enter memo (optional).
- Click Submit.
This is the fifth button under the View Invoice window, where you can email an invoice. This action is only valid when you have a client set up for Paperless Billing.
- Select and invoice from the list and click Email.
- This will automatically generate and send an invoice email to client.
View Invoices is the third item in the Finances drop down menu. From this window you can view statements.
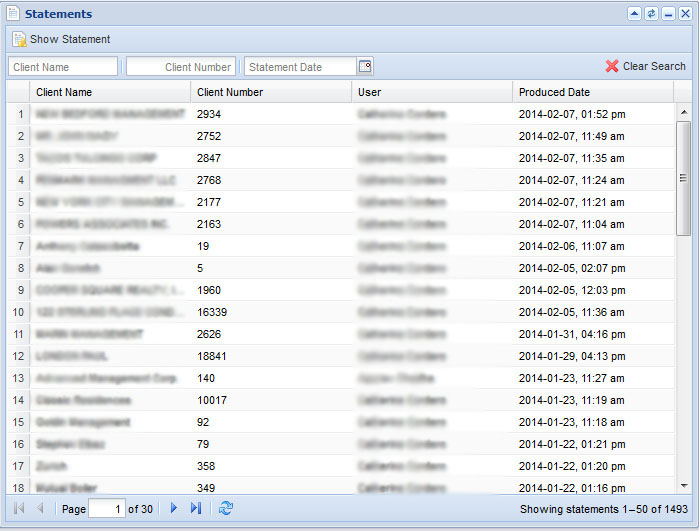
Search Options
You can search the page by:
- Client Name
- Client Number
- Statement Date
To clear the search field click the ![]() Clear Search icon in the top right corner.
Clear Search icon in the top right corner.
Show Statement
- Select a statement and click the Show Statements button in the top left corner of the window.
- A PDF version of the statement will be created and automatically downloaded to your computer.
View Invoices is the fourth item in the Finances drop down menu. From this window you can create and view a preview of a selected invoice for a service which requires advanced payment. Prepaid invoices can be created and sent to the client before a service is completed.
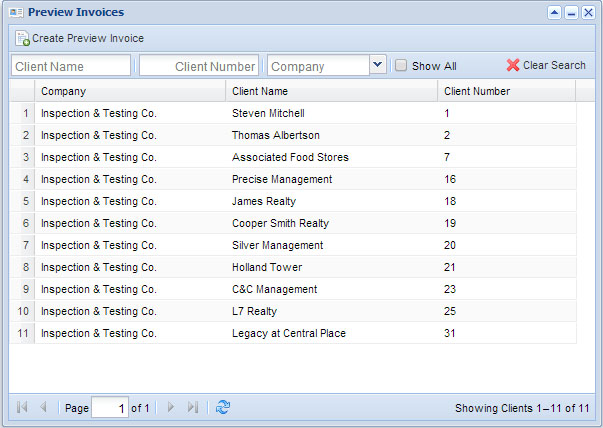
Search Options
You can search the page by:
- Client Name
- Client Number
- Company
- Show All
To clear the search field click the ![]() Clear Search icon in the top right corner.
Clear Search icon in the top right corner.
Create Preview Invoice
- Select a statement and click the Create Preview Invoice button in the top left corner of the window.
- Follow the instructions from Create Invoice.